Skip to Content
Go back

How to Install Intercom: IP Intercom Installation Guide

An IP intercom system allows for two-way communication between devices over a network, typically using Voice over IP (VoIP) technology. This guide will walk you through the steps to install an IP intercom system.

Requirements:

  1. IP intercom devices (both outdoor and indoor units)
  2. Ethernet cables (Cat5, Cat5e or Cat6)
  3. Network switch or router with PoE (Power over Ethernet) support
  4. Screwdriver and drill (for mounting)
  5. IP intercom software (if applicable)

Step 1: Plan the Installation

Identify the locations where you want to install the outdoor and indoor intercom units. Check how to find the best mounting height. Make sure the outdoor unit is easily accessible for visitors and the indoor unit is conveniently located for the users. Also, ensure that both devices are within the range of your network and have access to a power source if not using PoE.

Plan the Installation

Step 2: Mount the Outdoor Unit

  1. Use a pencil to mark the screw hole positions on the wall according to the mounting template provided with your intercom device.
  2. Drill the holes and insert wall plugs if required.
  3. Attach the mounting bracket to the wall using appropriate screws.
  4. Connect the Ethernet cable to the outdoor unit’s LAN port.
  5. Secure the outdoor unit to the mounting bracket.
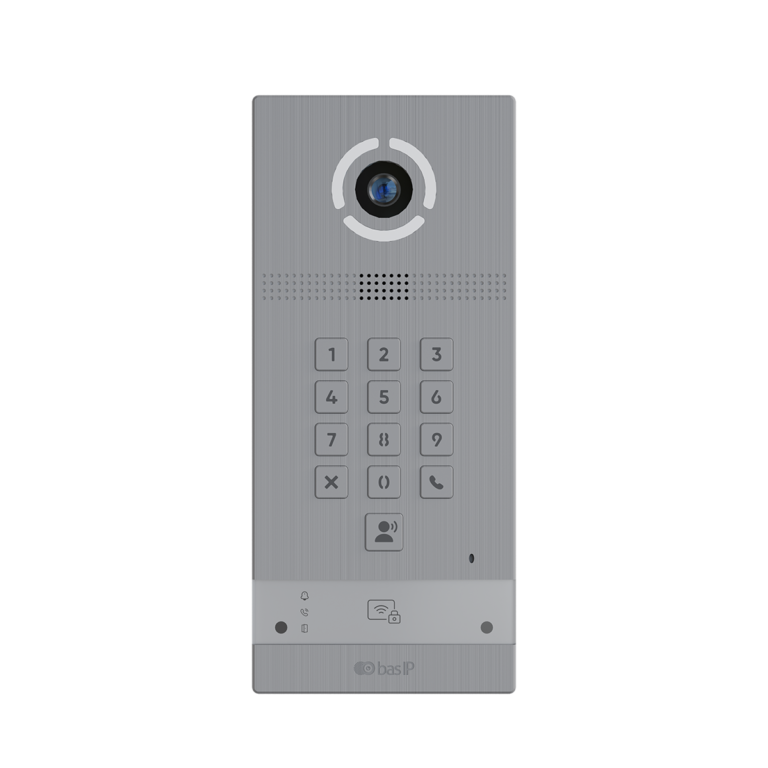
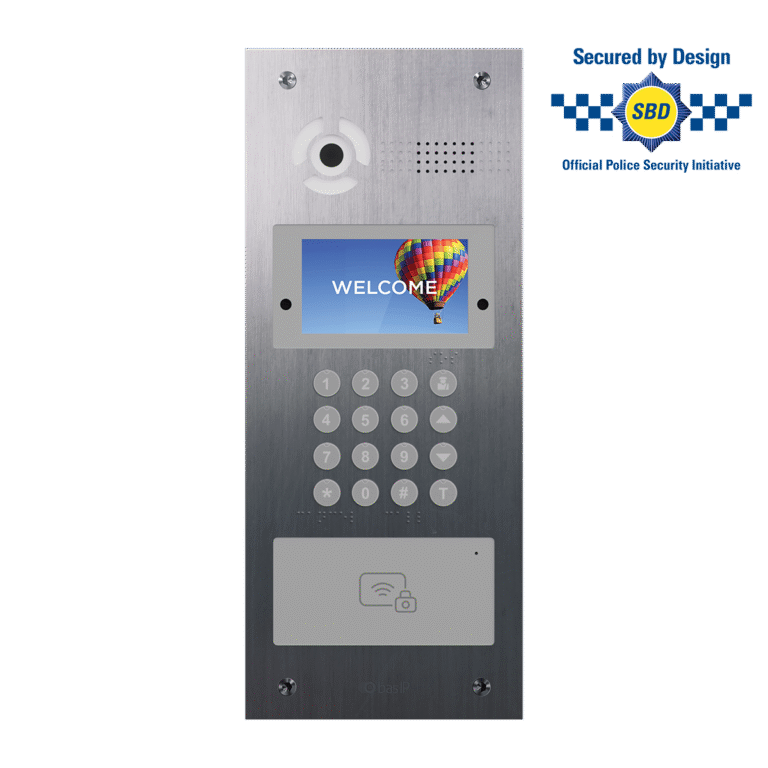
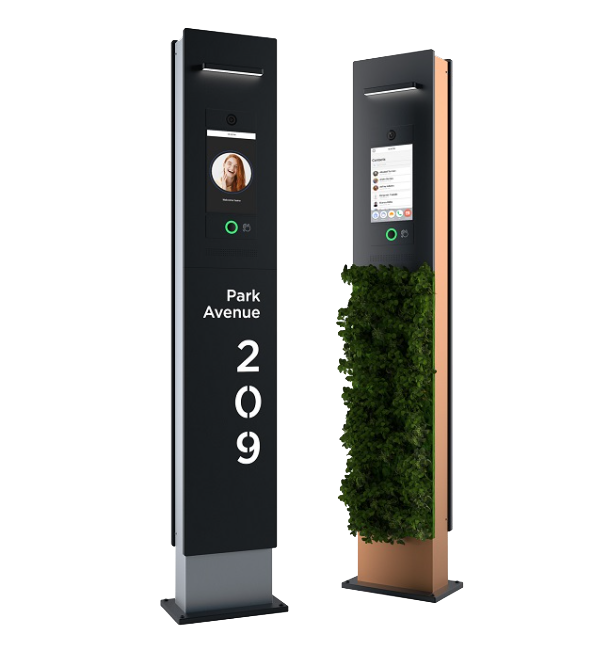
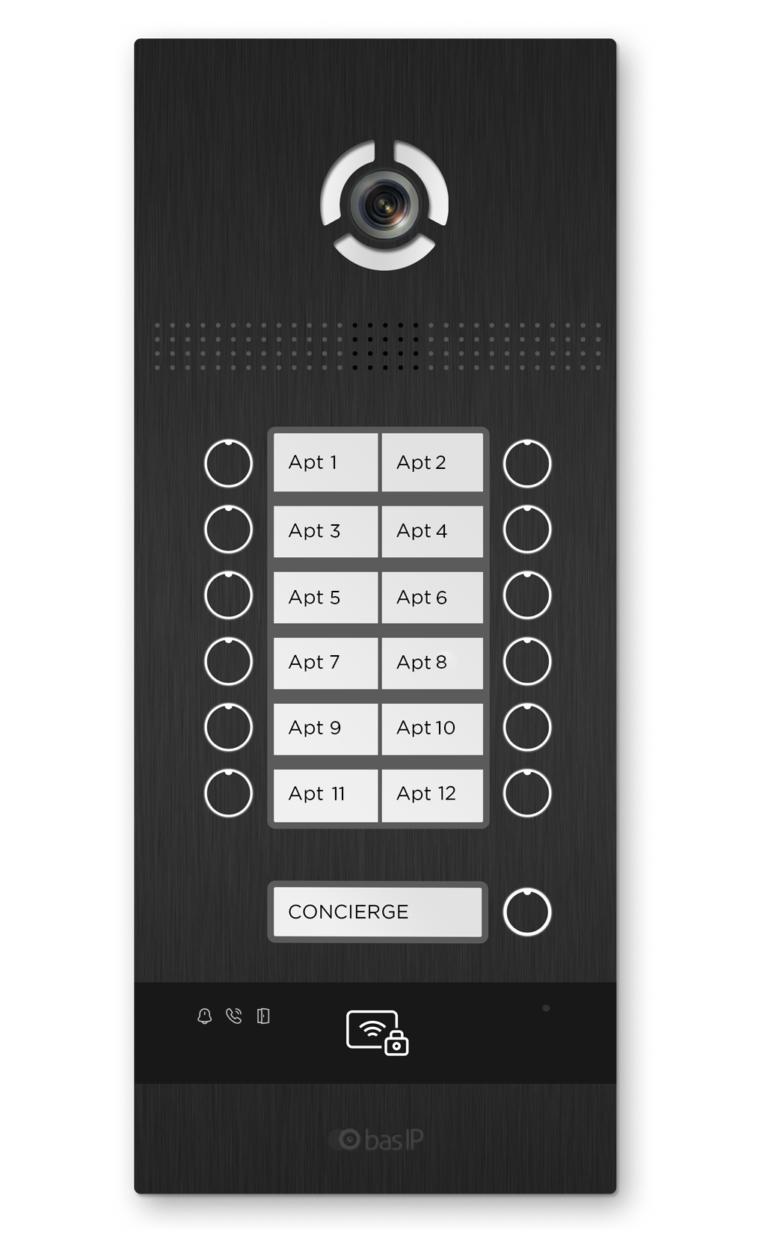
Door Entry Panels

See also  Intercom Multi-Factor Authentication (MFA)

Step 3: Mount the Indoor Unit

  1. Repeat the process of marking and drilling holes for the indoor unit as you did for the outdoor unit.
  2. Attach the indoor unit mounting bracket to the wall.
  3. Connect the Ethernet cable to the indoor unit’s LAN port.
  4. Secure the indoor unit to the mounting bracket.
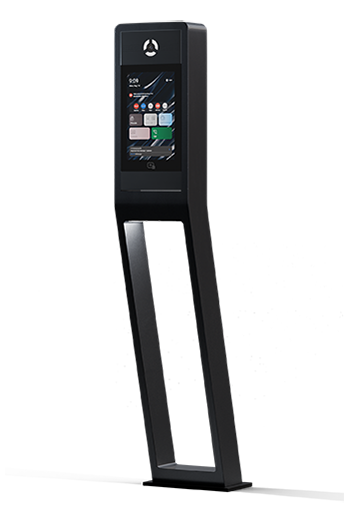
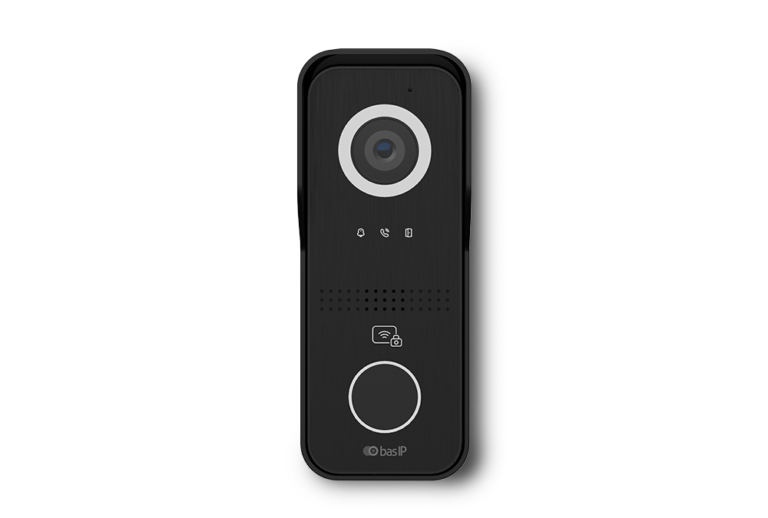
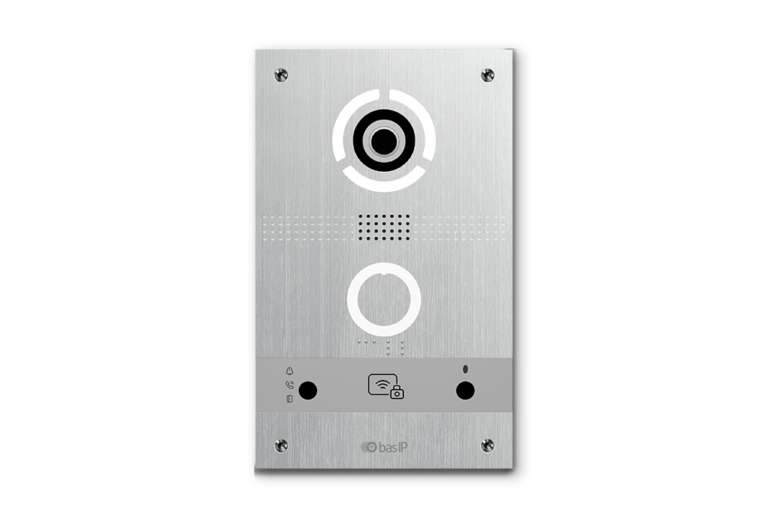
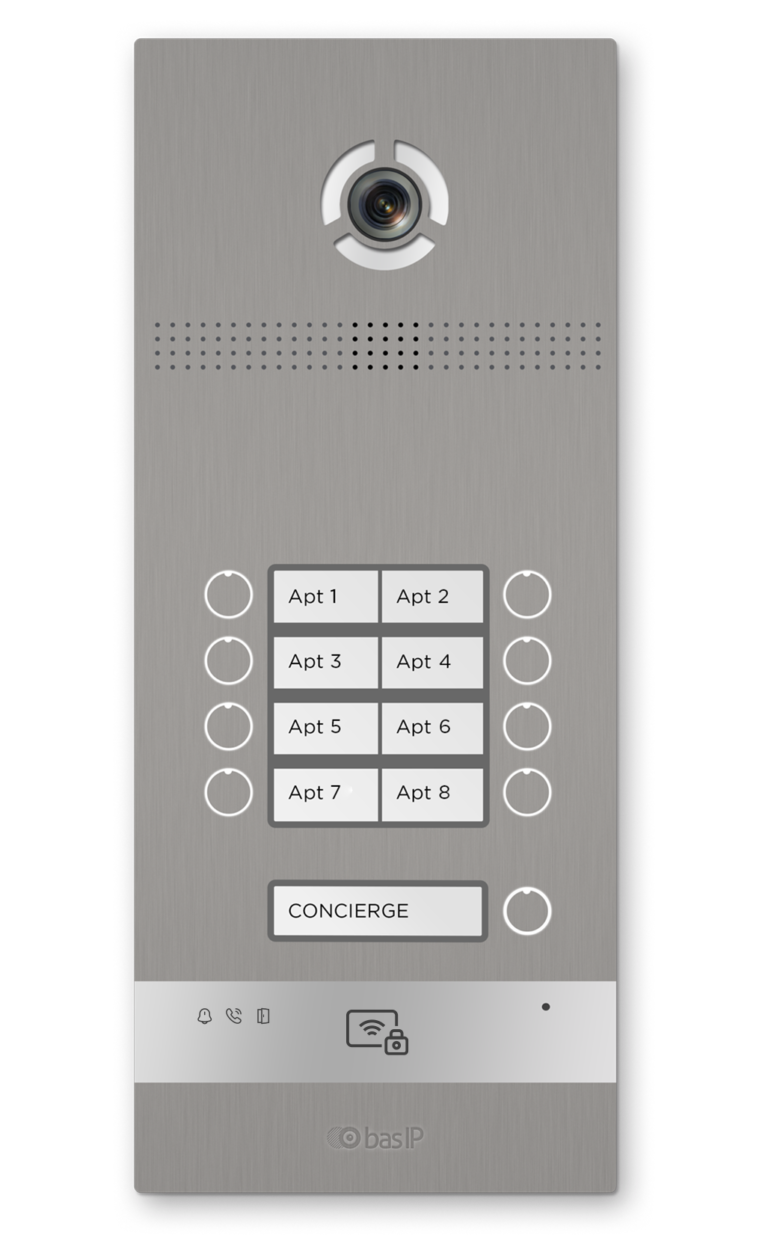
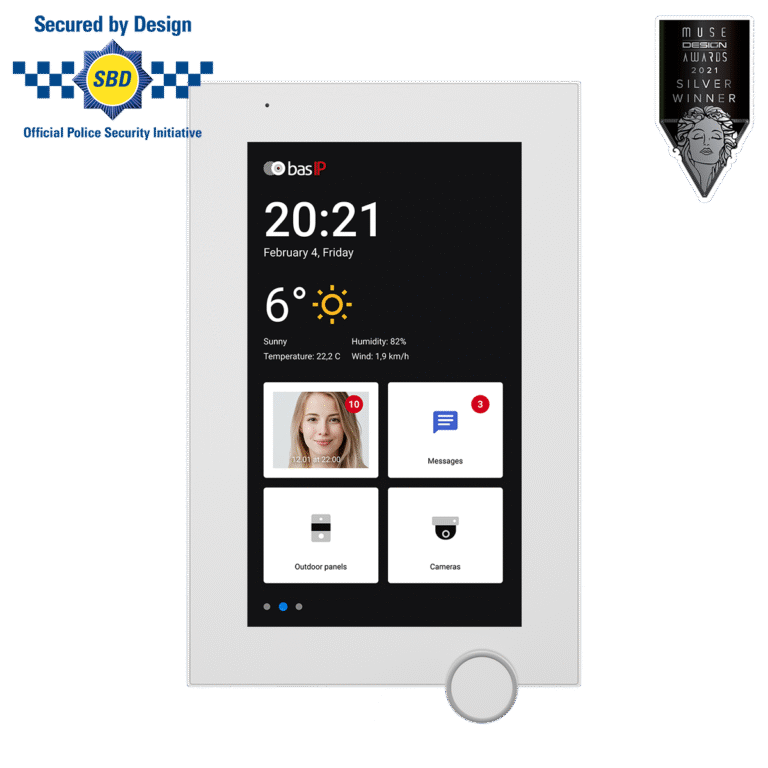
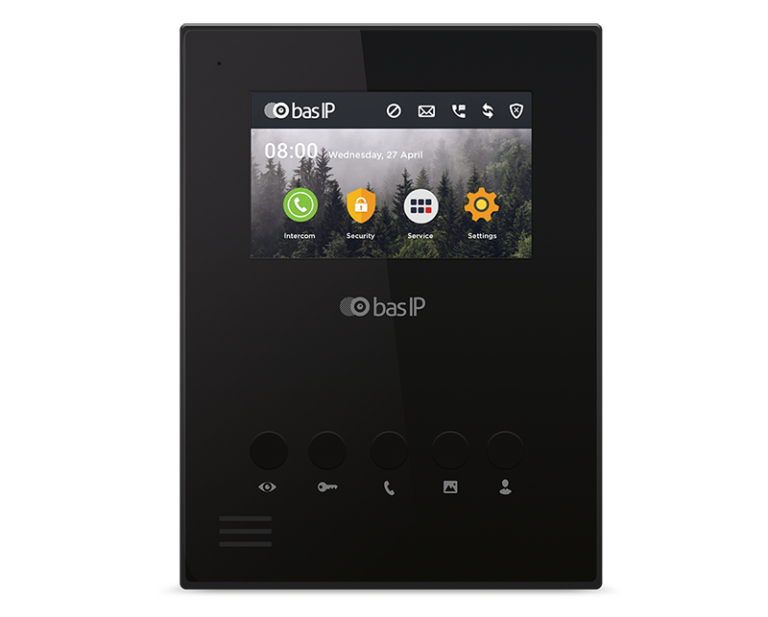
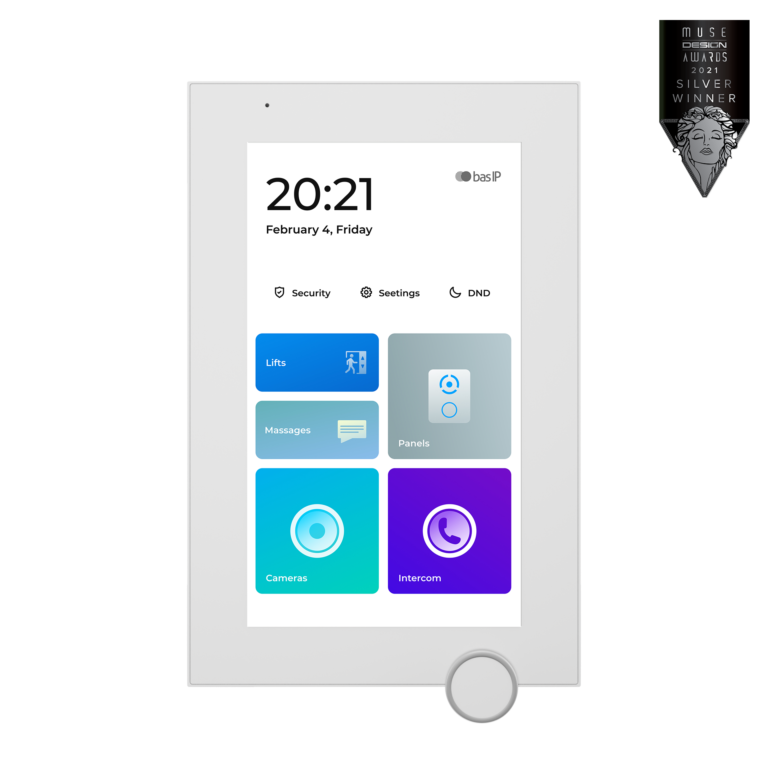
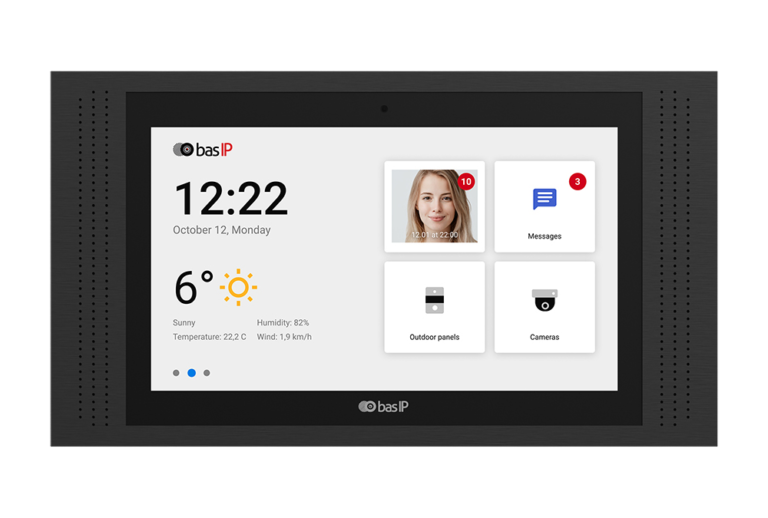
Video Door Phones

Step 4: Connect Devices to the Network

  1. Connect the other ends of the Ethernet cables to the PoE-enabled network switch or router.
  2. Ensure that both devices are powered up and connected to the network.

Step 5: Configure the IP Intercom System

  1. Refer to the intercom manufacturer’s documentation for the default IP address, username, and password.
  2. Open a web browser and enter the default IP address to access the intercom’s web interface.
  3. Log in using the default username and password.
  4. Change the default login credentials for security purposes.
  5. Assign unique IP addresses to each intercom device, making sure they are within the same subnet as your network.
  6. Configure the audio and video settings, such as codec, bitrate, and resolution, according to your preferences and bandwidth availability.
  7. Set up any additional features, such as call forwarding, door release, or integration with third-party systems (e.g., access control or home automation).
See also  Property Management Definitions, Types and Roles

Step 6: Test the System

  1. Test the audio and video quality of the intercom system by making a call between the indoor and outdoor units.
  2. Verify that the door release function (if applicable) works correctly.
  3. Ensure that any additional features or integrations are functioning as intended.

Step 7: Install the IP intercom software (if applicable)

Some IP intercom systems come with dedicated software for monitoring and managing the system from a computer or mobile device. Install the software on your devices and configure it according to the manufacturer’s instructions.

Congratulations! You have successfully installed your IP intercom system.

similar articles
Articles

Access control and a video intercom are often treated as though they were the same thing, because both are linked to entering a building. But they are not quite the same. A video intercom is primarily about communication with a visitor: the call, the conversation, the image, and the decision to release the door. Access […]

Articles

What PoE Means in Simple Terms PoE stands for Power over Ethernet. Put simply, it means that the same Ethernet cable can carry both data and power. That means that, for some devices, you do not need a separate network connection and a separate power feed. If the equipment supports PoE, one cable may be […]

Articles

Why This Comparison Is Often Presented Too Simplistically When people talk about the difference between an IP and an analog video intercom, the discussion is often reduced to a crude formula: analog is basic and outdated, while IP is automatically modern and better. That is a convenient story if someone only wants to sell IP […]

Articles

Start Not with the Design, but with the Use Scenario The most common mistake is choosing an entry panel without a clear task in mind. A panel for a private house, a block of flats, an office, or a commercial site is not the same thing. First, answer the basic questions: How many users will […]

Articles

What the Difference Actually Is A flush-mounted panel is recessed into the wall or into a prepared niche, so only the front face remains visible from the outside. That makes the installation look neater and more integrated. A surface-mounted panel is fixed on top of the wall. It protrudes further, but it is usually much […]

Articles

The term “IP video intercom” often creates a side effect: people assume that such a system must depend on the internet. That is not quite right. Let us look at which functions of an IP intercom can work without internet access and which genuinely require an external connection. The short answer is yes: in many […]

Articles

You ordered groceries or a parcel, but there is no one at the door to open it? A modern IP intercom solves this without “handing a key to a neighbour”. The scenario is simple: the courier rings the intercom, you receive the call on your phone, see the person on video, talk to them, remotely […]

Articles

Hartman Controls is an Access Control company focused on integrated platforms for modern buildings. Its flagship platform, Odyssey, is built around access control while integrating intercom communication, video management, cameras, and mobile interaction into a single, cohesive ecosystem. Odyssey includes: Centralized access control platform for managing credentials, doors, elevators and permissions Modern Management interface via […]

Articles

The modern intercom industry represents a unique combination of electrical engineering, security systems, and information technology. For more than a century, this sector has evolved from simple acoustic tubes to complex cloud ecosystems integrated with artificial intelligence. By 2025, the global market for intercom devices is valued at USD 33.4 billion, with projected growth to […]

Articles

BAS-IP is pleased to announce the successful confirmation of compatibility between BAS-IP video intercom entrance panels and Zennio Z-series touch panels. This integration unites professional IP intercom technology with advanced KNX-based touch interfaces, delivering a seamless and reliable communication experience for residential and commercial projects. Confirmed Functionality Compatibility has been rigorously tested and verified across […]