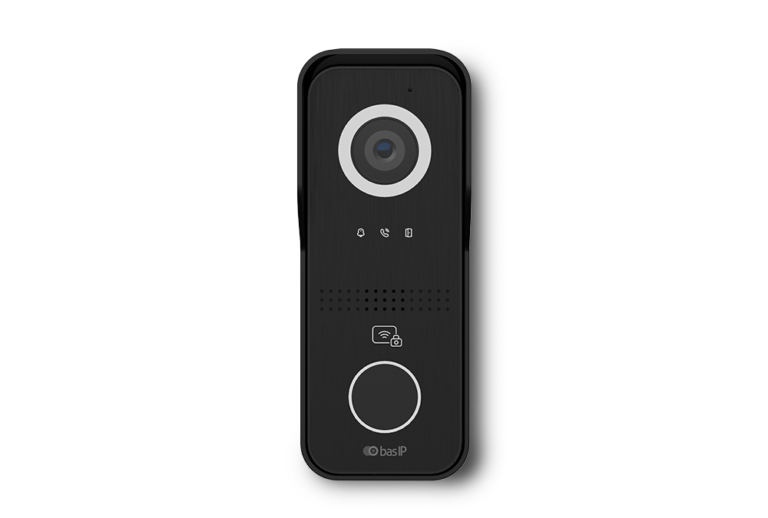
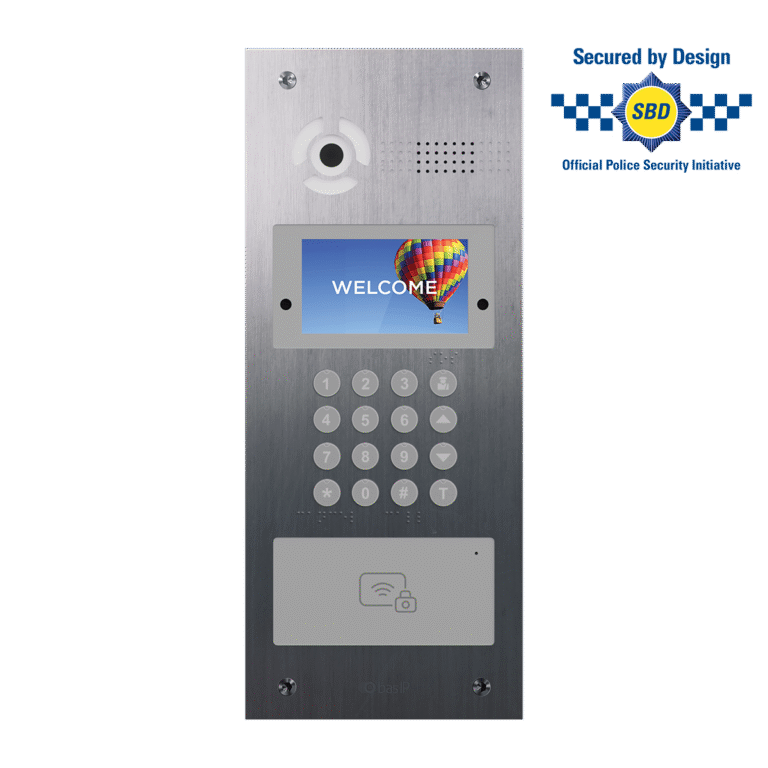
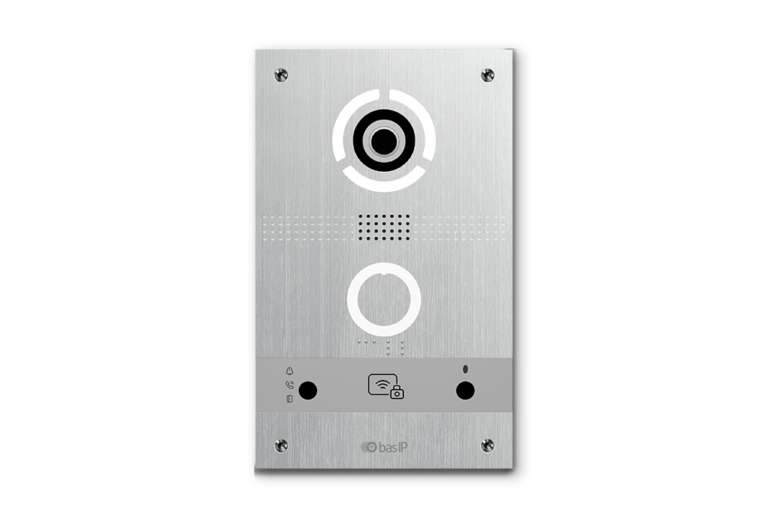
How to Install Intercom: IP Intercom Installation Guide
An IP intercom system allows for two-way communication between devices over a network, typically using Voice over IP (VoIP) technology. This guide will walk you through the steps to install an IP intercom system.
Requirements:
- IP intercom devices (both outdoor and indoor units)
- Ethernet cables (Cat5, Cat5e or Cat6)
- Network switch or router with PoE (Power over Ethernet) support
- Screwdriver and drill (for mounting)
- IP intercom software (if applicable)
Step 1: Plan the Installation
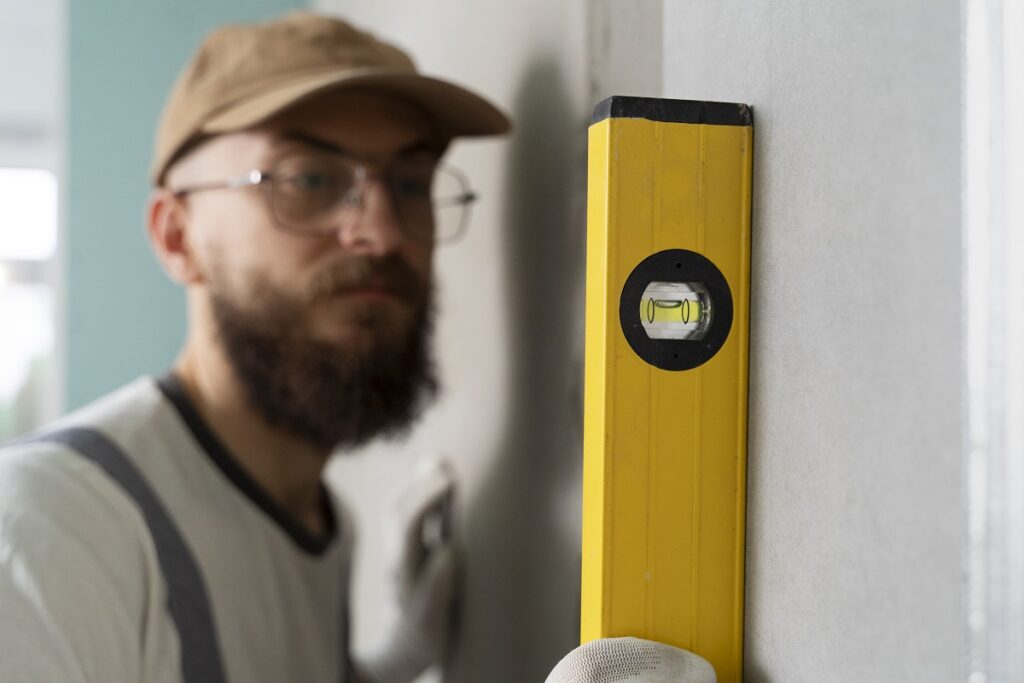
Identify the locations where you want to install the outdoor and indoor intercom units. Check how to find the best mounting height. Make sure the outdoor unit is easily accessible for visitors and the indoor unit is conveniently located for the users. Also, ensure that both devices are within the range of your network and have access to a power source if not using PoE.
Step 2: Mount the Outdoor Unit
- Use a pencil to mark the screw hole positions on the wall according to the mounting template provided with your intercom device.
- Drill the holes and insert wall plugs if required.
- Attach the mounting bracket to the wall using appropriate screws.
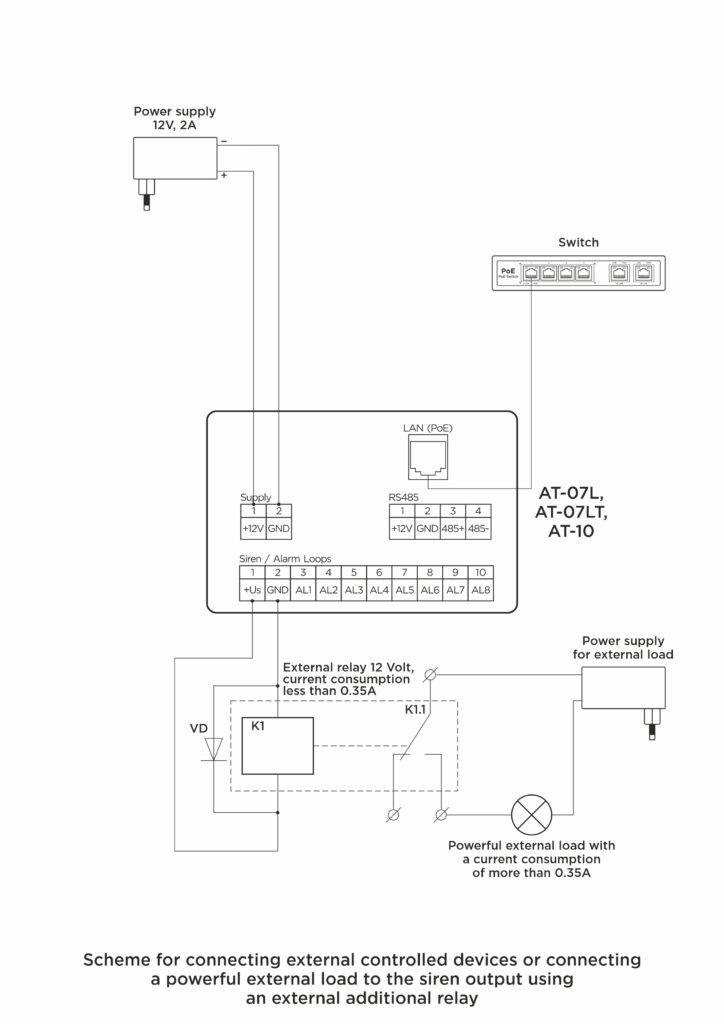
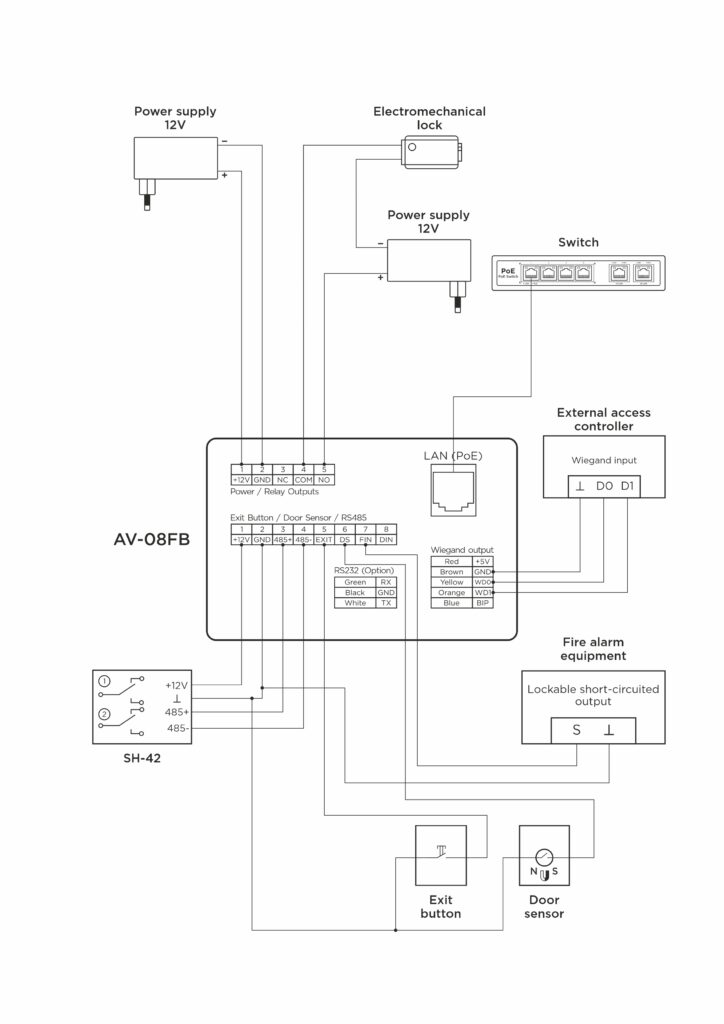
- Connect the Ethernet cable to the outdoor unit’s LAN port.
- Secure the outdoor unit to the mounting bracket.
Step 3: Mount the Indoor Unit
- Repeat the process of marking and drilling holes for the indoor unit as you did for the outdoor unit.
- Attach the indoor unit mounting bracket to the wall.
- Connect the Ethernet cable to the indoor unit’s LAN port.
- Secure the indoor unit to the mounting bracket.
Step 4: Connect Devices to the Network
- Connect the other ends of the Ethernet cables to the PoE-enabled network switch or router.
- Ensure that both devices are powered up and connected to the network.
Step 5: Configure the IP Intercom System
- Refer to the intercom manufacturer’s documentation for the default IP address, username, and password.
- Open a web browser and enter the default IP address to access the intercom’s web interface.
- Log in using the default username and password.
- Change the default login credentials for security purposes.
- Assign unique IP addresses to each intercom device, making sure they are within the same subnet as your network.
- Configure the audio and video settings, such as codec, bitrate, and resolution, according to your preferences and bandwidth availability.
- Set up any additional features, such as call forwarding, door release, or integration with third-party systems (e.g., access control or home automation).
Step 6: Test the System
- Test the audio and video quality of the intercom system by making a call between the indoor and outdoor units.
- Verify that the door release function (if applicable) works correctly.
- Ensure that any additional features or integrations are functioning as intended.
Step 7: Install the IP intercom software (if applicable)
Some IP intercom systems come with dedicated software for monitoring and managing the system from a computer or mobile device. Install the software on your devices and configure it according to the manufacturer’s instructions.
Congratulations! You have successfully installed your IP intercom system.
