Getting started with BAS-IP Link app for your self-hosted system
BAS-IP Link app is a perfect addition to BAS-IP Link software. With this app, you can watch a stream from entrance panels and/or indoor video entry phones and monitor the situation at home or office. Also, the user can open the lock via Bluetooth, call an elevator to the required floor for you or your guests, and quickly create guest passes.
The use of BAS-IP Link software is obligatory for the app functioning.
https://apps.apple.com/ua/app/bas-ip-link/id1554833962
https://play.google.com/store/apps/details?id=com.basip.link
The main functions:
- support of VoIP/push notifications for incoming calls;
- video stream from the panel/monitor camera before answering the call;
- possibility of registration/authorization on different Link servers;
- ability to add multiple devices;
- guest passes (QR-codes, access codes, and links) creation;
- calling the elevator (when the EVRC-IP module is used);
- opening the lock using UKEY (availability of UKEY identifier is required);
- availability of an archive with all calls;
- family members invitation.
Registration
To register on the app, complete the following steps:
1. The system administrator must create a new user in the server web interface and sends a confirmation email to you.
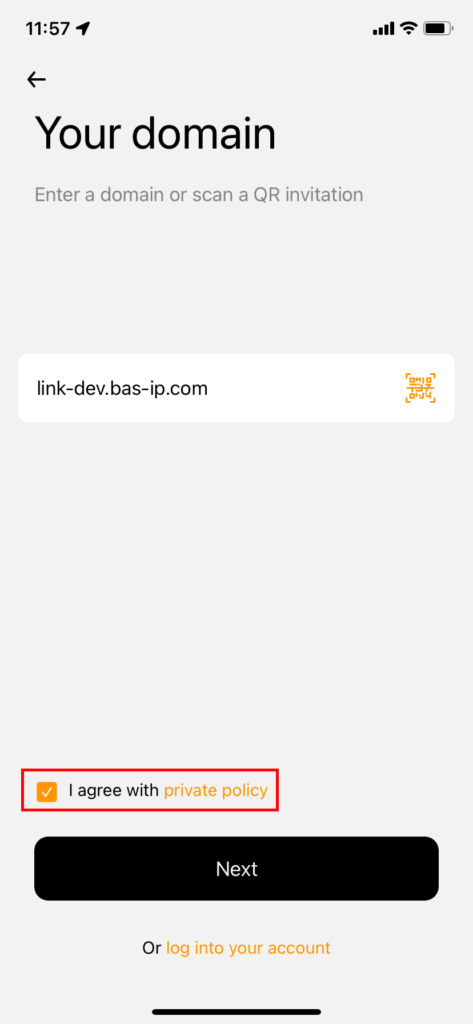
2. After receiving the registration invite, open the app and press New user.
3. Tick I agree with a private policy. To read the policy follow the link.
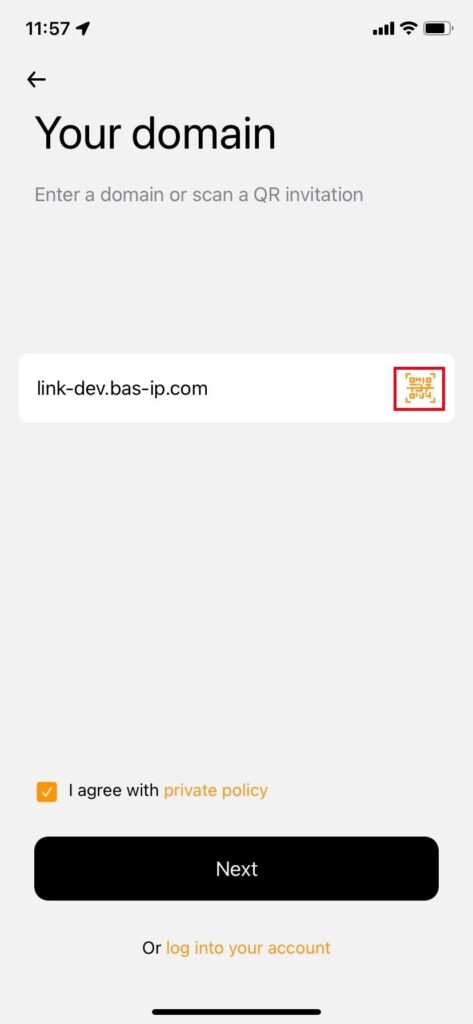
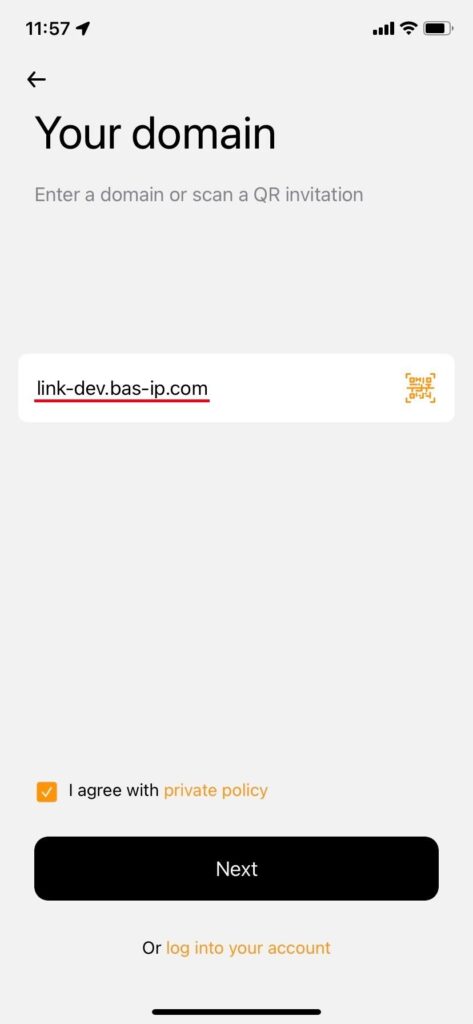
4. There are two ways to proceed with the registration:
- to scan the QR code from the invitation email;
- to enter the Link server domain (received in the invitation email) manually, press Next and enter the Activation code from the invitation email. To confirm data, press Next once again;
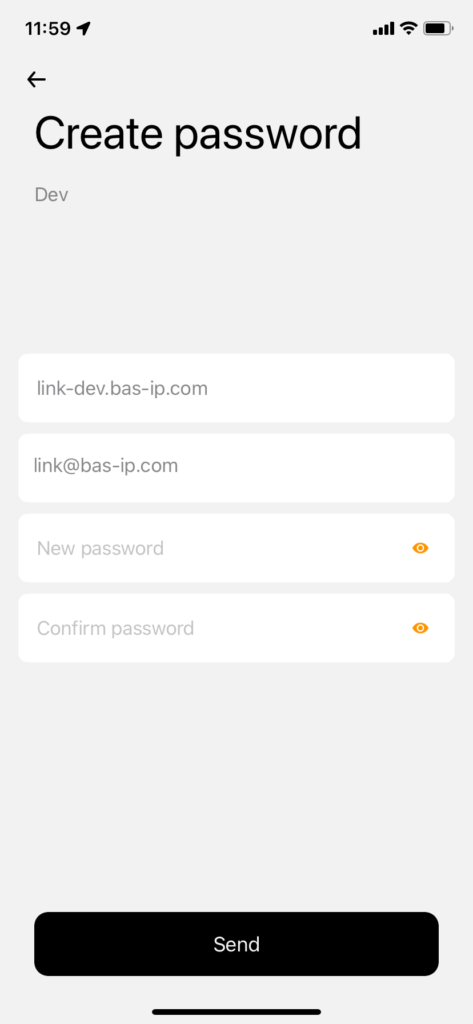
5. Create and confirm a password for your Link account.
6. Press Send to save data and open the app menu.

Authorization
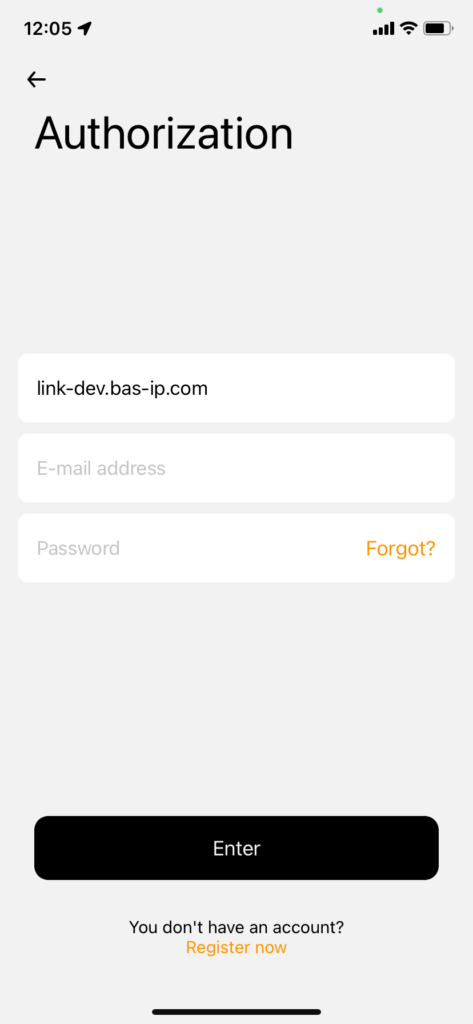
If you already have an account, you need to log in to the application. Complete the following steps for authorization:
- Open the BAS-IP Link app and press Enter on the main page.
- Type in the required data:
- the domain name of the Link server;
- account email registered with the server;
- account password.
- Press Enter to confirm data and open the app menu.
If you want to authorize on another smartphone and you have only 1 license, log out of your account on your current device. To do this, go to your Profile and press Exit.
If you need to use your account on multiple (devices) phones/tablets, please ask your Link provider about this option.
Password recovery
If you forgot your password, follow these steps to recover your Link account.
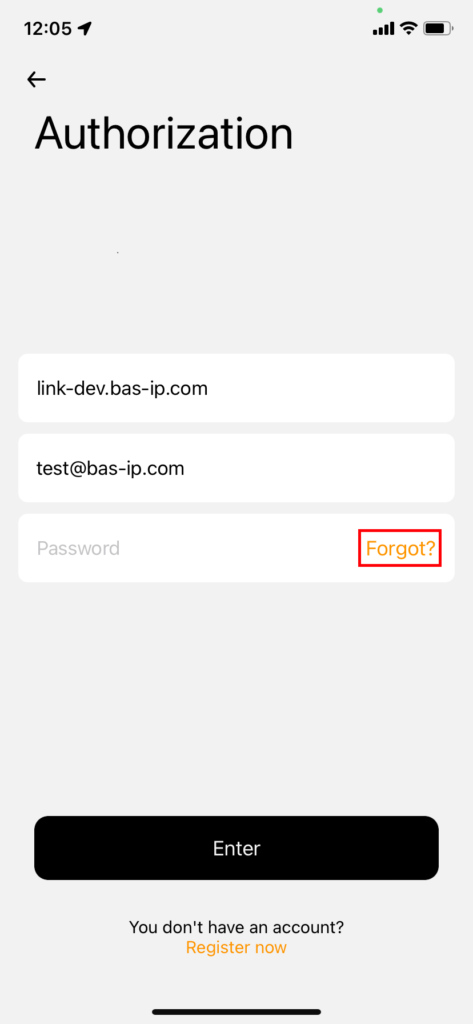
- On the Authorization page, enter the domain name of the Link server you use.
- Enter the account email registered with the server.
- Press the Forgot? button in the Password field.
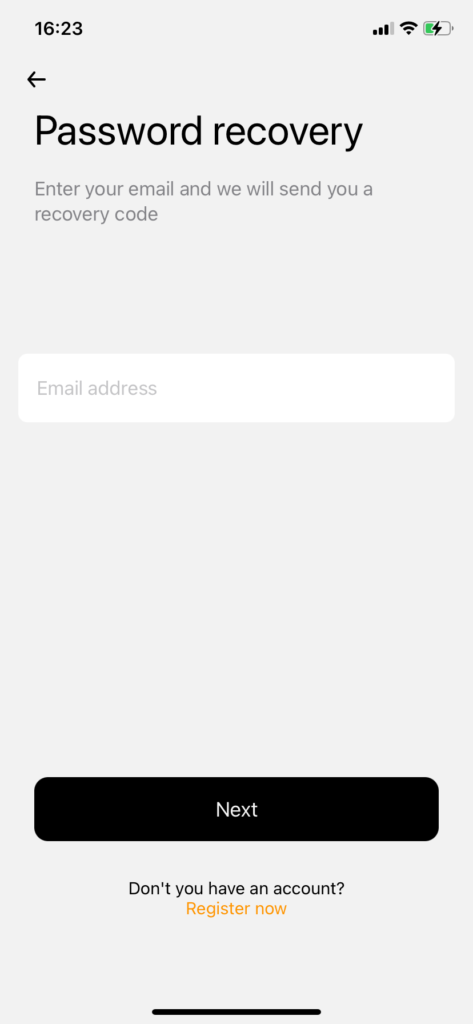
- Provide your email to receive a recovery code. Press Next.
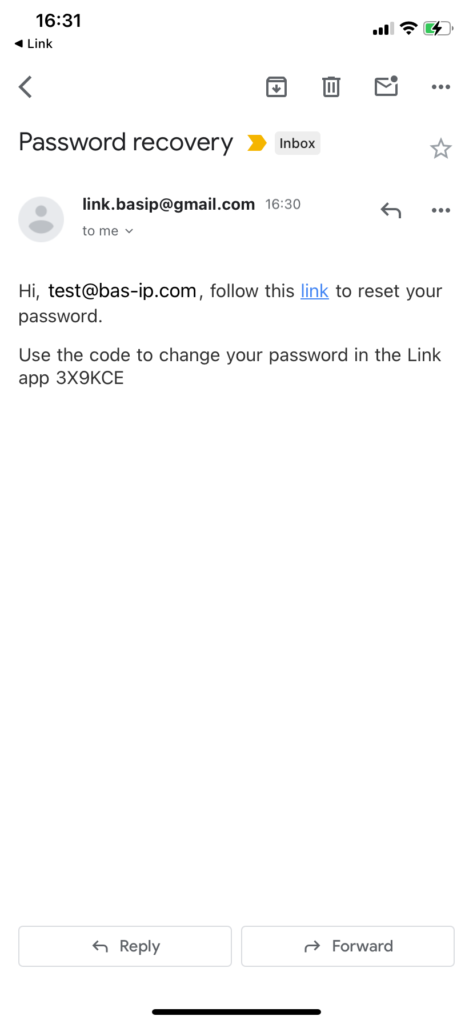
- Open the email and find the letter with the recovery data.
- You can set a new password with one of these options:
by following the link from the letter and setting a password via the Link web version.
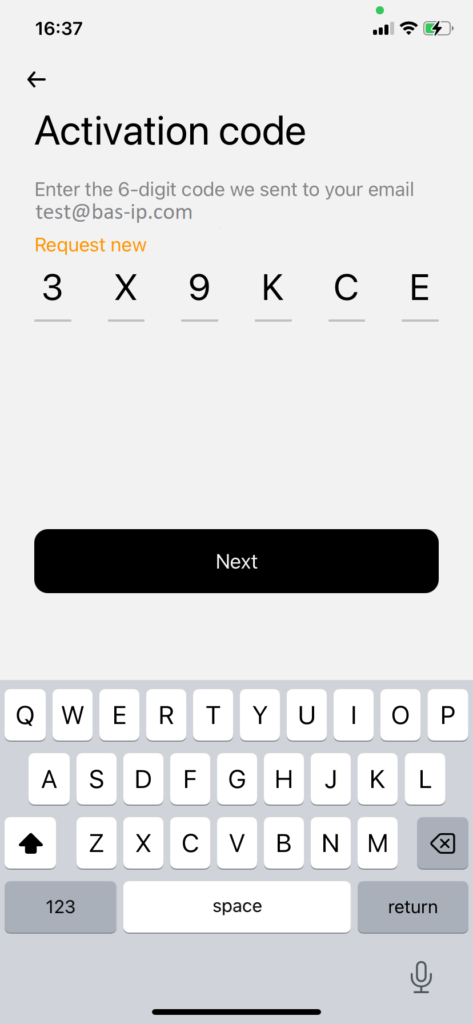
by entering the recovery code from the letter in the Link app. - When you copy a recovery code, return to the app and paste it. Press Next.
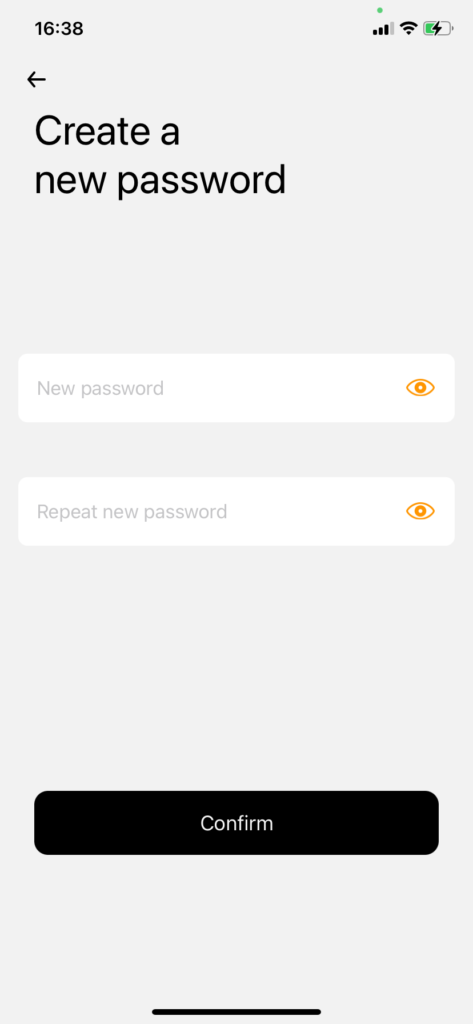
- Set a new password and re-enter it. Press Confirm.
- You are redirected to the Authorization page where the new password is entered. Press Enter to log in to your account.
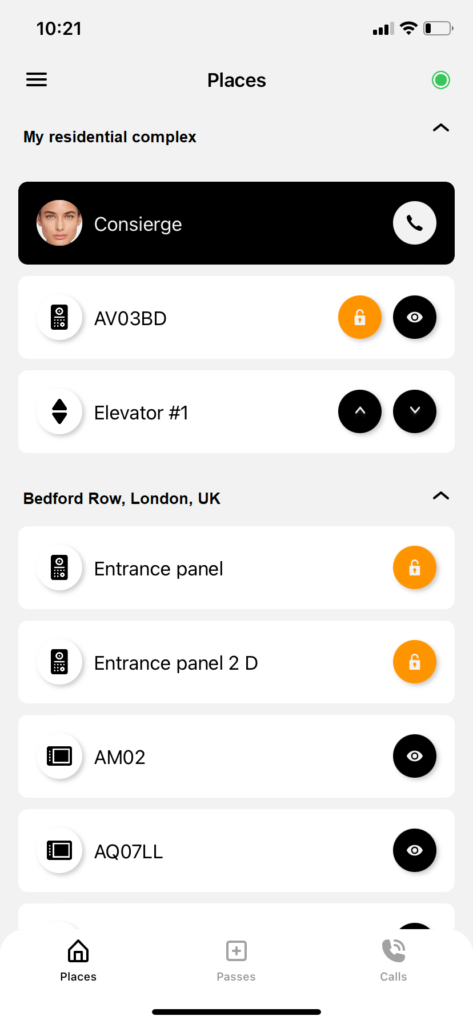
Places
Menu description
- List of available for user places (property objects) with their devices and contacts;
- Button to open the panel lock (in case of successful opening, the icon will change color to green, in case of an error – to red);
- Button to call the device and/or watch the stream from its camera (if available);
- Buttons to call an elevator (EVRC-IP module must be used)
Place/s displayed in the menu is a group/s to which the user is added on the Link server. All available devices are also added to the group together with the user. Also, access rules created in the Link server are automatically applied to the user and the list of devices. All changes on the server are automatically updated in the app.
The following device types are available:
- panel: opening the door, calls/video calls (if there is a built-in camera) are available;
- monitor: calls/video calls (if there is a built-in camera) are available;
- access controller: opening the door is available;
- elevator controller: calling the elevator to the required floor;
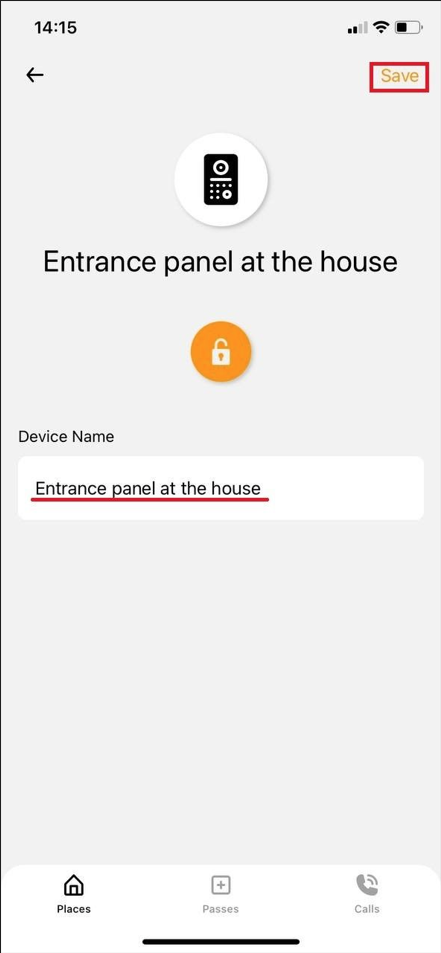
Editing the device name
You can change the device name if you don’t like what the administrator sets. To do it:
- Tap the card with the necessary device.
- Press Edit in the upper right corner.
- Enter the new device name and press Save.
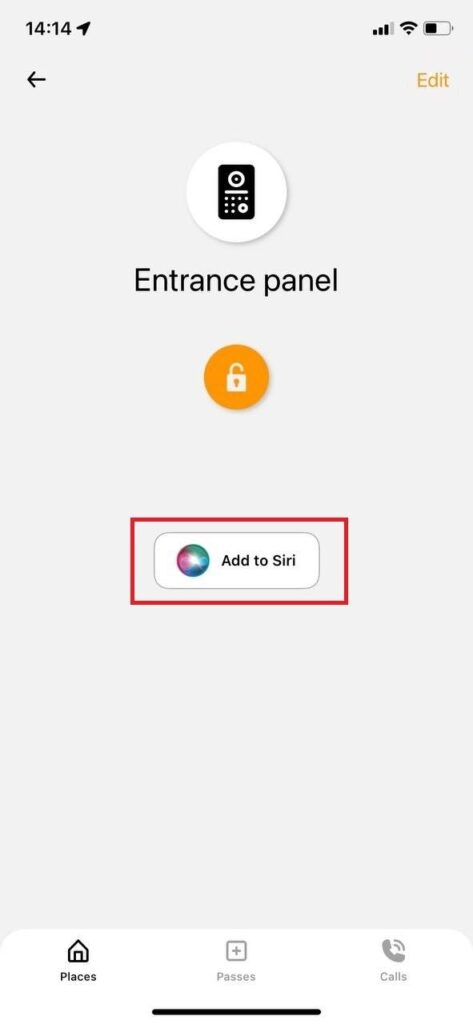
Interaction with Siri Shortcuts (for IOS only)
You can add panels, access, and elevator controllers for opening locks or calling the elevator via Siri. You can configure it from the Link app as well as create a shortcut with the corresponding app. The quickest way to do this:
- Tap the card with the necessary device on the app.
- Press Add to Siri and record a voice command.
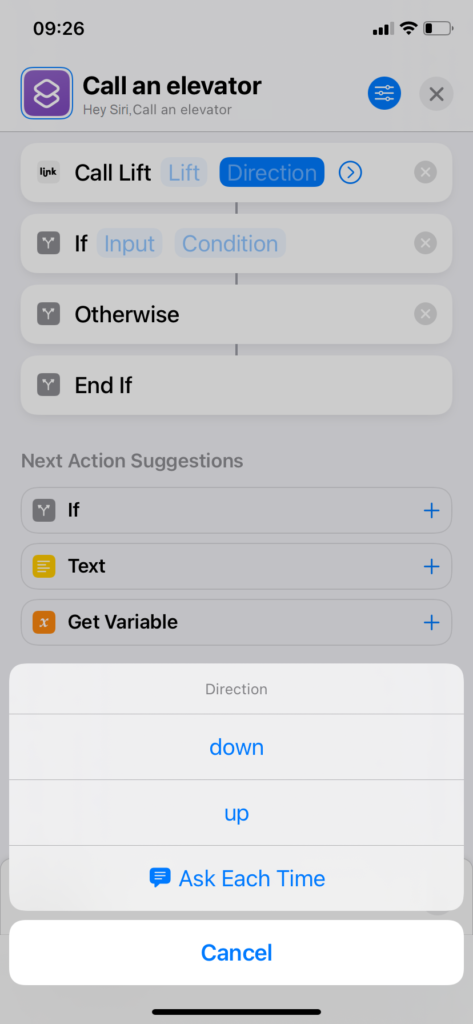
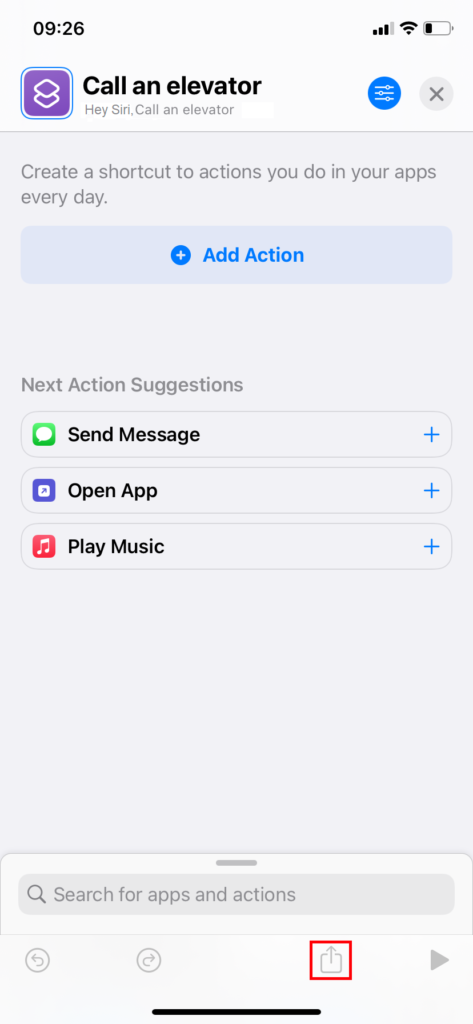
With the help of the Shortcuts app, you can add additional conditions for your command and add the open the door/call the elevator button on the Home screen. To do it, you must:
- Open the Shortcuts app.
- Press the Pluss button “+” in the upper right corner.
- Enter shortcut name.
- Press Add action.
- Using the search find the BAS-IP Link app and select a required command from the list of available.
- Add some additional information:
– for an elevator indicate its direction: up/down or you can be asked every time;
– for the opening the door command select which door you will open. - When all is configured you can add the button with a shortcut to the Home screen for quick access. Press the Share button in the low left corner of the screen.
- Select add to Home screen option.
- As a result, the shortcut button will be displayed on the screen.